
Welcome to the comprehensive guide on garage door opener installation. Taking on the task of setting up your own Chamberlain opener can seem daunting, but with this walkthrough, the process can be smooth and rewarding. Known for their robust construction and cutting-edge smart technology, Chamberlain openers are a popular choice for homeowners eager to upgrade their garage with a touch of convenience and enhanced security. By delving into this Chamberlain garage door installation guide, you’ll equip yourself with the necessary knowledge to tackle the setup with confidence.
Whether you’re a DIY enthusiast or a first-timer in home projects, our step-by-step approach will provide you with the clear and detailed instructions you need to navigate the installation process from start to finish. Understanding the fundamentals, choosing the right tools, and adhering to safety protocols are all part of the journey to successfully integrating a Chamberlain opener into your daily routine. Let’s get started on making your garage door system better, smarter, and more secure.
Key Takeaways
- Identify the Chamberlain opener that suits your garage’s specifications.
- Gather all the necessary tools for the installation beforehand.
- Comprehend the safety measures that are crucial during the installation process.
- Learn how the smart features of Chamberlain can elevate your home’s security.
- Follow the clear, step-by-step guide for an effective DIY installation.
Understanding the Basics of Garage Door Opener Installation
Entering the world of DIY home improvement projects can be a rewarding endeavor, especially when installing a new Chamberlain garage door opener. This task not only promises added convenience but also an opportunity to learn about the mechanism that helps keep your garage secure and functional. Before embarking on this project, it is crucial to understand the variety of Chamberlain opener types, the specific garage door opener installation tools required, and the garage door installation safety measures to consider.
Types of Chamberlain Garage Door Openers
Chamberlain boasts a diverse range of garage door opener models designed to meet different needs and preferences. From chain-driven to belt-driven and even smart, Wi-Fi enabled options, there’s a product to suit every homeowner’s requirements. Analyzing the size and weight of your garage door coupled with the level of noise reduction and smart features you desire will guide you to the appropriate Chamberlain opener type for your garage.
Tools and Materials Needed for Installation
While each model may come with its own set of specifics, some common tools and materials are universally necessary for a garage door opener installation. These often include a ladder, adjustable wrench, socket set, screwdrivers, and a drill with various bits. Additionally, you’ll need mounting hardware—often provided with the opener—and any personalized safety gear like gloves and safety glasses.
| Installation Tool | Purpose | Notes |
|---|---|---|
| Ladder | Accessing ceiling mounts | Ensure stability |
| Adjustable wrench | Tightening bolts and nuts | Versatile use |
| Socket set | Securing opener bracket | Various sizes needed |
| Screwdrivers | Attaching preassembly parts | Both flat-head and Phillips |
| Drill with bits | Creating pilot holes | Charged battery is a must |
Safety Precautions Before You Begin
Putting safety first is a critical component of any successful DIY project. Ensure that your work area is clear of any debris or obstacles, and that all tools are in good working condition. When handling the opener and its components, be aware of pinch points and sharp edges. Most critically, understand the workings of your garage door’s tension system, as mishandling it can lead to injury. Always disconnect the power to your current garage door opener before starting installation to prevent electrical shock.
Preparing for the Installation
To guarantee a successful setup of your Chamberlain garage door opener, proper installation preparation is paramount. This phase is about laying the groundwork to ensure a smooth installation process. Beginning with the selection of an optimal location for the opener, to unboxing and parts verification, and concluding with a thorough garage door compatibility check, each step is crafted to pave the way for an efficient and hassle-free installation experience.
Choosing the Appropriate Location
Installing your Chamberlain opener begins with identifying the right spot in your garage for the power unit. This location should offer sturdy support for mounting and be in alignment with the center of the garage door. It’s essential that this area is free of obstructions and provides easy access for maintenance. Adequate headroom is also necessary to accommodate the opener’s components and the full range of the garage door’s movement.
Unboxing and Parts Verification
With the location secured, it’s time to unbox your Chamberlain opener and lay out the components. Methodically check each part against the inventory list to ensure that nothing is missing. This array of Chamberlain opener components includes the motor unit, rail segments, trolley, pulleys, hardware, and sensors, among others. Having all items verified and ready for installation is inclusive of ensuring all tools required for the task are at hand.
Garage Door Compatibility Check
Before proceeding, confirming the garage door opener compatibility with your Chamberlain model is critical. Inspect the garage door’s weight, size, and type to establish suitability. Take note of whether your door is sectional or one-piece and if it includes an extension spring or a torsion spring system. It is important that your chosen Chamberlain opener is capable of managing the specific demands of your garage door to prevent future operational issues.

How to Install Chamberlain Garage Door Opener
Embarking on the installation of a Chamberlain garage door opener is a decision that brings enhanced accessibility and security to your home. With a focus on precision during each step of the process, we now engage with the core installation procedure eminent for a successful setup.
Mounting the Power Unit
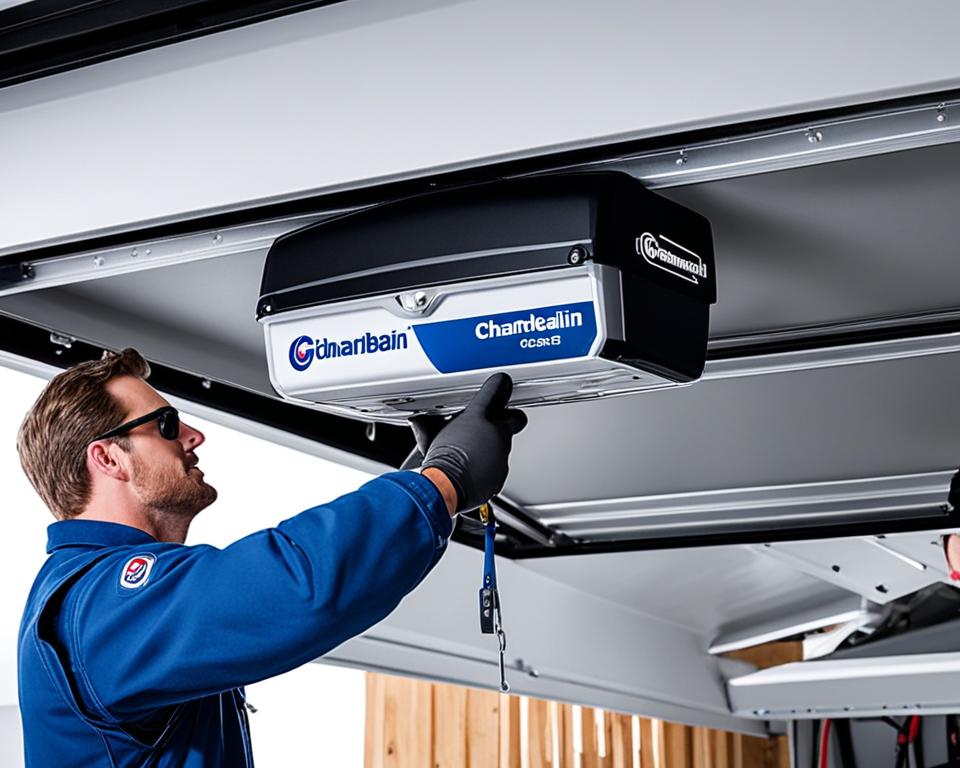
Begin by identifying the central point of your garage ceiling for garage door opener mounting. It is essential that this location aligns with the center of the garage door itself. Secure the power unit bracket to a solid surface or ceiling joists using lag screws. If needed, employ additional mounting straps to ensure stability and minimize vibrations, which can be disruptive and potentially harmful to the unit over time.
Assembling and Attaching the Rail
Assembly of the rail is a critical step. Start by connecting the rail segments together. Most rail assembly procedures involve snapping or sliding the segments into place until they are fully seated. Once assembled, the rail must be attached to the power unit, which often has pre-drilled holes for this purpose.
| Rail Segment Description | Connection Type | Importance |
|---|---|---|
| Front Rail Segment | Slip-In | Interfaces with the garage door bracket |
| Central Rail Segments | Snaps or Bolts Together | Provides the structural integrity of the rail |
| Rear Rail Segment | Secures to Power Unit | Transfers the force from the motor |
Setting Up the Trolley and Chain
The trolley and chain setup is imperative for the movement of the garage door. Attach the chain around the motor’s sprocket and extend it along the rail towards the garage door, where it connects to the trolley. The trolley, which is in line with the door arm, will glide along the rail as the door opens or closes. Ensure the chain is neither too tight nor too slack to avoid unnecessary strain or slippage.
With these key components in place, your Chamberlain garage door opener will be primed for the intricate electrical work and programming that follows, setting you one step closer to a fully functional system offering the convenience and security you deserve.
Electrical Setup and Programming
Advancing through the installation procedure, setting up the electrical components is a pivotal step. Appropriate electrical wiring for openers ensures the safe and reliable operation of your Chamberlain garage door opener. Following the wiring phase, the additional tasks of opener programming and syncing remote controls are essential for personalized and user-friendly access.

Wiring the Chamberlain Opener
The initial stage of setting up your Chamberlain opener involves connecting it to your home’s power supply. Carefully follow the manufacturer’s opener programming guide for instructions on how to properly handle the wires and avoid electrical hazards. Typically, you will need to connect the opener’s power cord to an electrical outlet. In cases where direct wiring is necessary, it’s advisable to employ a licensed electrician for assistance.
Programming the Opener Settings
Once the wiring is safely installed, programming the garage door opener is the next critical step. This process customizes how the opener interacts with your garage door, ensuring it operates smoothly. Using the control panel or the Chamberlain app if you have a Wi-Fi-compatible model, you’ll set the open and close limits, adjust force settings, and configure safety features.
Pairing Remotes and Keypads
The final phase involves syncing your remote controls and keypads with the opener. This ensures seamless access and operation. Most Chamberlain models follow a standard procedure of pressing the “Learn” button on the opener, then pressing a designated button on your remote or keypad. This pairing process may vary slightly depending on the model, so refer to your manual for exact instructions.
| Step | Description | Important Notes |
|---|---|---|
| 1. Electrical Wiring | Connect opener to power supply. | Turn off electricity before beginning. |
| 2. Opener Programming | Define door limits and force settings. | Follow manufacturer’s guide for safety. |
| 3. Remote Sync | Pair remote controls/keypads with opener. | Ensure devices are compatible. |
In summarizing, these steps not only exemplify responsible electrical wiring for openers but set the foundation for effective opener programming and the crucial aspect of syncing remote controls for complete system functionality. Approaching each phase with caution and thoroughness guarantees the enduring performance of your Chamberlain garage door opener.
Testing and Troubleshooting
Following the careful installation of your Chamberlain garage door opener, it’s crucial to carry out a series of tests and adjustments to ensure the system operates safely and efficiently. These steps will solidify the integrity of your installation, safeguarding against potential malfunctions or hazards.
Conducting the Safety Reverse Test
The garage door safety test is an essential procedure that checks the proper functioning of your garage door’s auto-reversal feature. To perform this test, place a solid object, like a piece of wood or a roll of paper towels, on the ground in the path of the closing door. As the door lowers, it should make contact with the object and immediately reverse back up. If it fails to do so, reviewing the opener’s manual for reprogramming instructions is your next course of action.

Fine-Tuning the Force and Limit Settings
Opener force adjustment is key in fine-tuning how your garage door moves. Adjust the open and close force settings as described in your Chamberlain opener’s manual to ensure your door moves with the correct amount of force and stops at the desired points. These limit settings dictate the endpoints of your garage door’s journey and must be set precisely to prevent the door from exerting too much pressure on objects or not closing fully.
Addressing Common Issues After Installation
When troubleshooting garage openers, some common hurdles may include remote malfunctions, noisy operations, or the door moving unevenly. The following table provides a quick reference for dealing with some typical post-installation challenges:
| Issue | Potential Cause | Troubleshooting Steps |
|---|---|---|
| Remote not working | Dead batteries or signal interference | Replace batteries or reset the remote |
| Noisy operation | Loose hardware or lack of lubrication | Tighten bolts and lubricate moving parts |
| Uneven door movement | Improperly balanced door or worn springs | Rebalance door and inspect springs |
| Opener doesn’t operate | Power outage or opener disconnection | Check the power source and ensure the opener is plugged in |
By conducting the recommended tests and adjustments, as well as addressing any immediate concerns, you can rest assured that your garage door opener will function reliably and safely. Regular maintenance and prompt attention to any new issues are equally important in extending the life and performance of your Chamberlain system.
Conclusion
Embarking on a DIY garage door opener installation can be a complex task, yet arming yourself with this guide and the right techniques can lead to a fulfilling endeavor. This article aimed to map out every critical step necessary for successfully installing a Chamberlain opener, from the initial selection to the intricate wiring and final troubleshooting. Your journey through the various phases of installation has not only increased the functionality of your home but has also boosted its security, adding a layer of comfort with the smart technology of Chamberlain.
To ensure that you reap the full benefits of your efforts, it’s crucial to follow each guideline diligently and reference the provided Chamberlain installation tips when necessary. The steps detailed serve not only as a practical blueprint but also empower you with the knowledge to handle future maintenance or enhancements. While manual instructions provide a solid foundation for set up, tackling the process firsthand deepens your understanding of the mechanics and instills a sense of achievement upon completion.
If challenges arise or questions linger, remember that Chamberlain’s customer support is a valuable resource. Never hesitate to reach out; after all, it is their support paired with your newfound skills that will guarantee the longevity and efficiency of your garage door opener. On the path to successfully installing your Chamberlain opener, you’ve elevated the standards of your DIY abilities and have added yet another successful project to your home improvement portfolio.