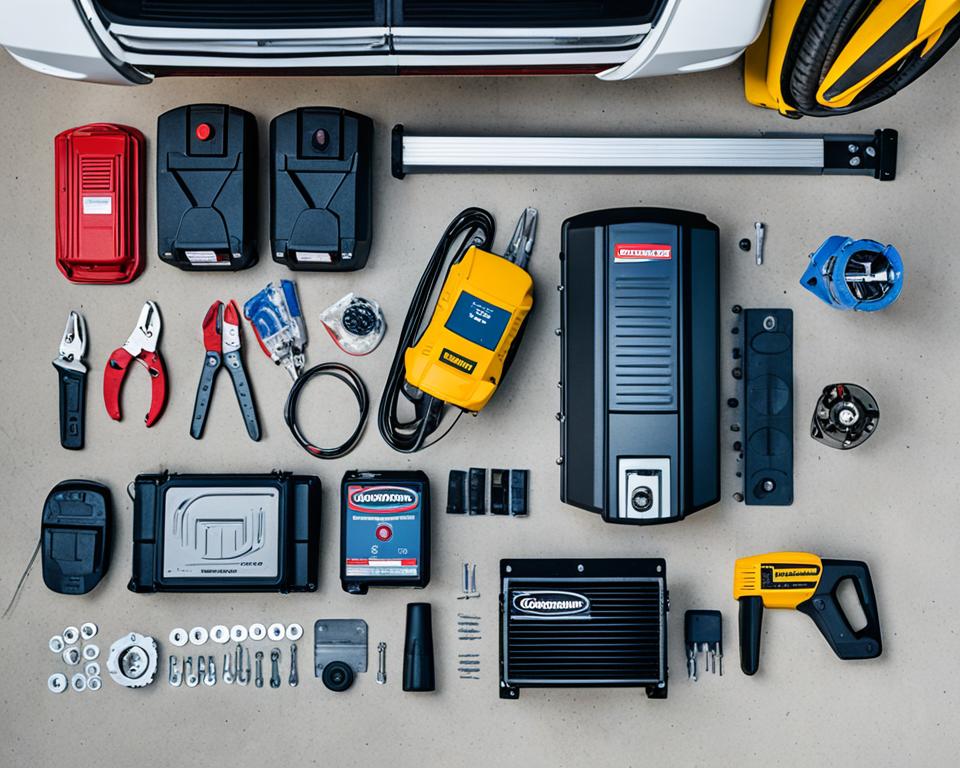
Encountering garage door issues can be both inconvenient and frustrating. Known for their dependability, Chamberlain garage door openers are not exempt from the occasional hiccup that requires garage door opener repair. If you’re up against a stubborn door or an uncooperative remote, don’t worry—Chamberlain troubleshooting steps are here to help you get back on track. This guide aims to arm you with practical, easy-to-follow advice for addressing common opener malfunctions. Whether you are a weekend DIY enthusiast or simply seeking to understand the problem before getting Chamberlain assistance, we’ve got you covered.
Safety is paramount when troubleshooting any mechanical system, and garage door openers are no exception. Ensure to adhere to all safety precautions when performing checks and repairs to avoid personal injury or further damage to your system. With the right approach, most issues can be resolved quickly, restoring the seamless operation of your Chamberlain opener.
Key Takeaways
- Understand the common problems associated with Chamberlain garage door openers.
- Discover how to perform garage door opener repair with ease.
- Take necessary safety precautions during Chamberlain troubleshooting.
- Know when to seek Chamberlain assistance for opener malfunctions.
- Ensure continuous performance through effective troubleshooting techniques.
Understanding Your Chamberlain Garage Door Opener
Gaining in-depth knowledge about your Chamberlain garage door opener is a critical step toward effective maintenance and troubleshooting. Each model comes with its own set of features and components, understanding which is essential for pinpointing issues efficiently and performing accurate error code interpretation. In this section, we’ll help you identify your model and understand its unique Chamberlain opener features, delve into the key garage door components, and make sense of the common error codes you might encounter.
Identifying Your Model and Features
The first step in troubleshooting is model identification. Knowing your Chamberlain garage door opener model will allow you to access specific manuals, error code interpretation guidelines, and support resources tailored to your device. Chamberlain’s website provides a comprehensive database where you can enter your opener’s model number to find detailed information on its features and specifications.
Basic Components and How They Work
Typical garage door openers consist of several main components that work in harmony to control the movement of your garage door. These include the electric motor, which provides the power to move the door, the trolley connected to the door arm attachment, and the sensors that ensure safe operation by reversing the door if an obstruction is detected. Knowledge of these components is vital when attempting to resolve functional issues with your system.
Common Error Codes and Their Meanings
Chamberlain openers are designed to communicate errors through specific codes. These codes offer straightforward diagnostics, which can be instrumental in quick troubleshooting. Below is a table illustrating some of the most common error codes and what they indicate, which simplifies error code interpretation for the most typical garage door components.
| Error Code | Description | Possible Solution |
|---|---|---|
| 1-1 | Safety Sensor Wire Shorted | Inspect sensor wire for shorts or damages. |
| 1-2 | Safety Sensor Wire Open | Check for disconnected sensor wires. |
| 1-3 | Door Control or Wire Shorted | Examine door control wiring for short circuits. |
| 1-4 | Sensor Misalignment | Realign safety sensors. |
| 2-1 | Force Control Exceeded | Adjust the force control settings. |
| 2-2 | Excessive Opening Force Detected | Reduce opening force and check for binding. |
| 2-3 | Motor Control Error | Unplug the opener to reset the motor. |
| 2-4 | Travel Limit Exceeded | Verify travel limits and adjust if necessary. |
| 2-5 | Motor Overheated or Unplugged | Allow the motor to cool down or check the power. |
Common Issues and How to Diagnose Them
Diagnosing garage door problems starts with recognizing the garage door malfunction symptoms your Chamberlain opener exhibits. Different symptoms can indicate various underlying issues. Let’s explore what these indicators might mean.
- Door Not Closing or Opening Fully: This symptom might indicate a misalignment of safety sensors or an issue with the travel limit settings.
- Making Unusual Noises: If your opener is making grinding, rattling, or beeping sounds, it could be due to mechanical obstructions or the need for lubrication.
- Remote Control Not Working: Problems with the remote control often point to battery issues, poor signal range, or the need for reprogramming.
By closely observing these symptoms, homeowners can better understand common Chamberlain issues they may encounter. For instance:
A door that hesitates before moving may suggest an obstruction or that the opener’s force settings need adjustment.
If the issue is still unclear, the following table showcases common problems matched with the symptom(s) they often present:
| Common Problem | Malfunction Symptoms | Suggested Diagnostic Action |
|---|---|---|
| Obstructed Pathway | Door reverses immediately after touching the floor or fails to close fully. | Inspect and clear any obstruction from the garage door’s path. |
| Remote Control Issues | Remote fails to operate the door or works intermittently. | Replace remote batteries and reprogram remote if necessary. |
| Unbalanced Door | Door appears uneven or struggles to open and close smoothly. | Perform a balance test and adjust as required. |
| Sensor Misalignment | Door stops and reverses even when no obvious obstructions are present. | Check and realign safety sensors. |
| Limited Travel Range | Door does not fully open or close, stopping short of the set limit. | Adjust the travel limit settings according to the manufacturer’s manual. |
| Stalled Motor | Opener’s motor runs but the door doesn’t move. | Examine the trolley connection and the manual release feature. |
Diagnosing and resolving common Chamberlain issues becomes less daunting when you have a clearer understanding of the relationships between symptoms and potential problems. As always, if you’re unsure about tackling a garage door issue, consult with professional service providers for comprehensive evaluations and safe, effective repairs.
Chamberlain Garage Door Openers Troubleshooting: Step-by-Step Solutions
When you encounter issues with your Chamberlain garage door opener, having a clear set of troubleshooting steps can be the difference between quick fixes and prolonged frustrations. This part of the guide provides targeted instructions to help resolve specific problems, ensuring you can restore functionality with minimal downtime.
Resolving Remote Control Problems
Issues with your remote can often be resolved through simple and effective remote control pairing and battery replacement techniques. Follow these steps to ensure your remote is in top working condition:
- Check the battery: Replace with a new one if the current battery is weak or dead.
- Re-pair the remote: Consult your Chamberlain manual to reset and pair your remote again.
- Clear obstructions: Ensure there are no signal obstructions between the remote and the opener.
Fixing Door Reversal and Obstruction Issues
One of the safety features of Chamberlain garage door openers is the automatic door reversal, which can sometimes require door reversal fixing or solving obstruction problems. The following steps will guide you through the process:
- Check for blockages: Inspect the garage door’s path and clear any objects that could be causing obstructions.
- Align safety sensors: Misaligned sensors can cause the door to reverse or stop. Align them correctly as per the owner’s manual.
- Adjust sensitivity settings: If the door reverses with no apparent obstruction, recalibrating the force sensitivity settings might be necessary.
Addressing Unusual Noises During Operation
A Chamberlain garage door opener should operate relatively quietly. Loud or strange noises can be indicators of underlying issues. Implement these noise reduction steps to quiet down your opener:
- Lubricate moving parts: Apply lubricant to the opener’s chain or screw, wheels, and hinges to decrease noise.
- Tighten loose hardware: Check for and tighten any loose nuts, bolts, or belts.
- Inspect for wear and tear: Components can wear out over time; replace any parts that are beyond simple adjustments.
A systematic approach to troubleshooting steps for your Chamberlain garage door opener can greatly diminish the complexity and duration of the repair process. Whether it’s programming hiccups, mechanical adjustments, or clearing unexpected obstructions, these methods can often restore your opener to full functionality. If difficulties persist, however, do not hesitate to consult the manual or contact a professional technician.
Maintenance Tips to Prevent Future Garage Door Problems
Proper preventative maintenance is integral for the prolonged and efficient operation of your Chamberlain garage door opener. Not only does it help in avoiding opener malfunctions, but it also ensures safety and reliability. By integrating a few simple tasks into your routine, you can minimize the occurrence of unexpected issues and keep your garage door functioning optimally.
Beginning with the moving parts, lubrication is vital. Regular application of an appropriate garage door lubricant can prevent rusting and reduce wear and tear, allowing for quiet and smooth operation. Here are a few areas to focus on:
- Rollers
- Hinges
- Tracks
- Spring
- Opener’s chain or screw
Another important aspect is to check the alignment of the garage door tracks. They should be perfectly vertical on the vertical sections, and the horizontal sections should slope slightly towards the back of your garage. You can use a level to check the alignment and adjust as necessary.
Regular Chamberlain garage door maintenance doesn’t just solve problems—it prevents them.
The balance of the garage door is equally important. An unbalanced door can put undue stress on the opener and lead to premature failure. Perform a balance test by manually lifting the door halfway and seeing if it stays in place. Adjust the tension of the springs if the door does not remain open.
Safety features should also undergo routine checks. Test your Chamberlain opener’s auto-reversal feature by placing a block of wood on the ground where the door would close. The door should reverse upon hitting the obstruction. If not, the opener’s force limit might need to be adjusted according to the manufacturer’s instructions.
Below is a checklist to help you maintain your Chamberlain garage door opener:
| Maintenance Tasks | Frequency | Notes |
|---|---|---|
| Lubricate moving parts | Every 6-12 months | Use a garage door specific lubricant. |
| Check track alignment | Every 6 months | Adjust as needed to maintain proper positioning. |
| Test balance | Annually | Adjust spring tension if door doesn’t stay halfway open. |
| Test safety features | Every 1-2 months | Including auto-reversal and photo-electric sensors. |
| Inspect hardware | Every 6 months | Tighten any loose bolts and replace worn components. |
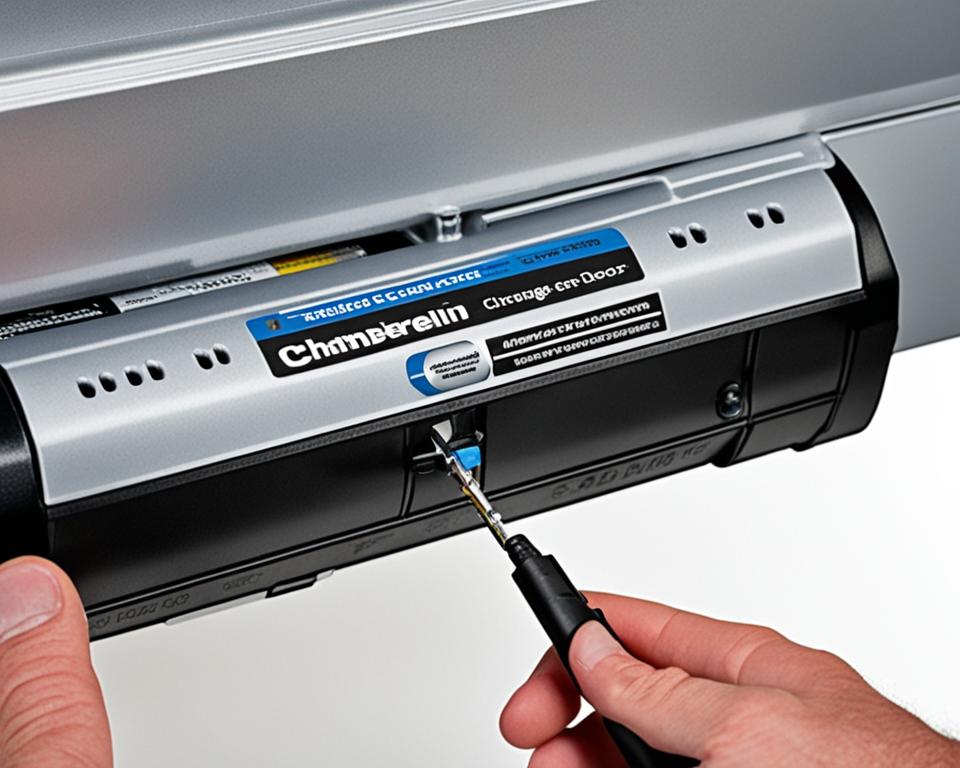
By adhering to a preventative maintenance schedule, not only do you extend the lifespan of your Chamberlain opener, but you also maintain its warranty compliance. Keep this checklist handy and invest the time in these simple tasks to ensure that your garage door opener continues to serve you reliably year after year.
Expert Advice on Electrical Issues with Chamberlain Openers
When facing electrical troubleshooting with your Chamberlain garage door opener, you’re dealing with a potentially complex situation that requires thoughtful attention. Whether it’s dead batteries, faulty wiring issues, or the need for a garage door resetting and opener reprogramming, each scenario demands a specific approach. Confronting these challenges can seem overwhelming, but with expert guidance, you can navigate through the maze of electrical complexities with confidence.
Checking and Replacing Batteries
The cornerstone of wireless opener functionality, batteries in your remote control or backup unit, are essential. A simple but often overlooked fix, replacing batteries should be the initial step in your electrical troubleshooting efforts. To ensure uninterrupted operation, use high-quality batteries and check their expiration dates.
- Open the battery compartment of the remote or backup unit.
- Remove the spent batteries.
- Insert new batteries, aligning properly with the +/- signs.
- Test the remote functionality or observe if the backup unit indicator lights up.
If a battery change doesn’t correct the issue, other electrical complications may be at play.
Understanding Wiring and Circuit Breaker Troubles
Dealing with wiring issues or a tripped circuit breaker creates a more intricate problem than mere battery replacement. Signs that wiring troubles might be affecting performance include intermittent operation, unexpected stopping, or no response from the opener. Here’s how you should handle it:
- Inspect the opener’s power cord and plug for any visible signs of damage or wear.
- Test the electrical outlet with another device to ensure it’s providing power.
- Check your home’s circuit breaker or fuse box for a tripped breaker or blown fuse directly linked to the opener’s circuit.
- Examine wiring connections at the opener’s terminal for possible damage or corrosion, and tighten any loose wire nuts.
Should these steps not reveal the culprit, the issue may involve internal opener wiring or components, which may require professional assistance.
Resetting and Reprogramming Your Garage Door Opener
Power fluctuations and other electrical anomalies can necessitate resetting and reprogramming your Chamberlain opener. Resetting restores factory defaults, potentially clearing any erratic behaviors. If your remote or keypad stops communicating with the opener, reprogramming is a must-do procedure.
- Locate the “Learn” button on your garage door opener unit.
- For resetting, hold this button for approximately 6 seconds until the LED goes out, indicating that previous settings have been cleared.
- For reprogramming, press the “Learn” button until the LED lights up, then press your remote control or keypad button within 30 seconds.
- Once the opener lights blink or you hear two clicks, the device has been successfully reprogrammed.
Electrical troubleshooting can involve a series of steps, but armed with this guide, homeowners can approach replacing batteries, resolving wiring issues, or conducting garage door resetting and opener reprogramming with increased accuracy and confidence.
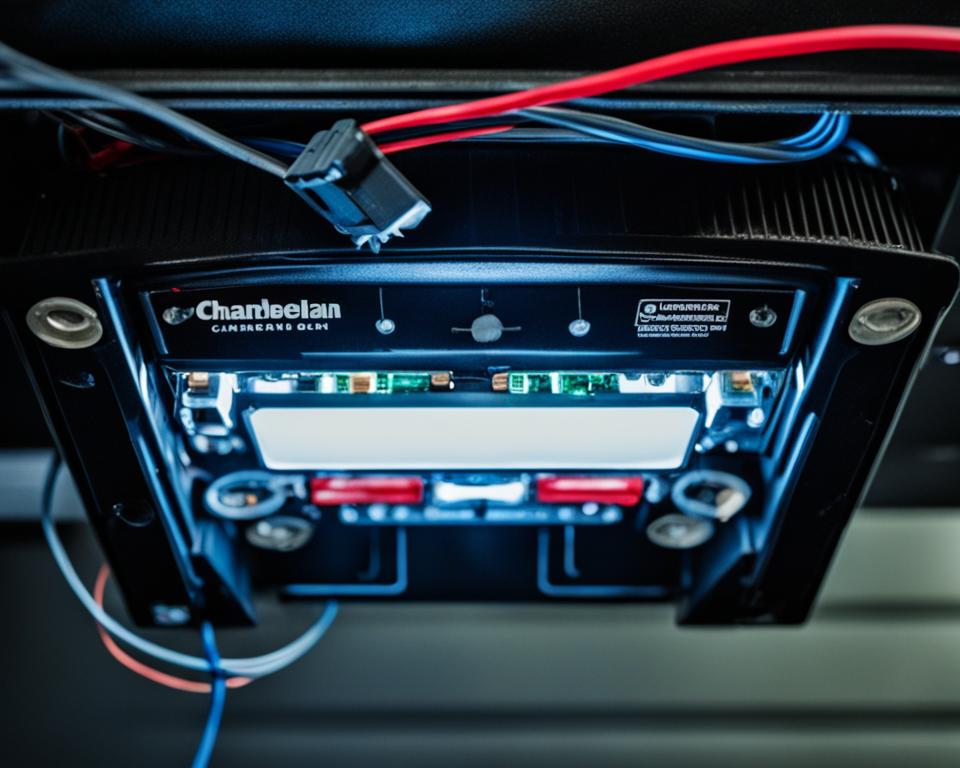
When to Seek Professional Help for Garage Door Opener Repairs
While many garage door opener issues can be resolved through DIY troubleshooting, there are occasions when the complexity of the problem goes beyond the scope of homeowner expertise. Knowing when to call in a professional garage door repair service is not only a matter of convenience but also of safety and ensuring long-term functionality. In this section, we explore the scenarios that necessitate seeking professional help, alongside tips for securing the right assistance.
Assessing the Complexity of the Issue
Several signs can alert you to the fact that a garage door repair might be too complex or risky to handle on your own. If you notice that the door is heavily damaged, there are electrical faults that require specialized tools, or the problem persists despite your troubleshooting efforts, it’s time to consider professional intervention. Assessing repair complexity is crucial; if you’re in doubt, it’s better to err on the side of caution.
Warranty Considerations and Manufacturer Support
Before you engage in any further repair attempts, it’s important to check the warranty coverage of your Chamberlain garage door opener. Unauthorized repairs could void your warranty. Instead, utilize available warranty service options. Contact the manufacturer for support as they may offer guidance or send a qualified repair technician to address the issue without incurring additional costs.
Choosing a Qualified Technician for Repairs
Finding the right professional for your garage door repair is pivotal. You should look for technicians who are not only qualified but have specific experience with Chamberlain garage door openers. Ensuring that the technician you choose is certified and knowledgeable in professional garage door repair services will give you peace of mind that the repair will be conducted properly, efficiently, and safely. Here’s a checklist to help you select a qualified professional:
| Qualification | Checklist Item | Why It Matters |
|---|---|---|
| Certification | Verify technician’s certifications. | Ensures the technician has met industry standards. |
| Experience with Brand | Ask if they’re experienced with Chamberlain products. | A technician familiar with your specific opener model can provide faster and more accurate repairs. |
| Insurance | Confirm that the technician is insured. | Protects you from liability in case of accidents or damage. |
| Reviews and References | Check reviews or ask for references. | Provides insight into the technician’s reliability and quality of service. |
| Estimate and Warranty | Request a detailed estimate and warranty on the repair. | Helps you understand the cost involved and guarantees the repair work. |
In short, when you encounter a garage door problem that seems too intricate, don’t hesitate to leverage the expertise of a qualified repair technician. By doing so, you will protect both your safety and the longevity of your Chamberlain garage door opener.
Conclusion
As we conclude our guide on Chamberlain garage door openers, it’s essential to have a cohesive troubleshooting summary that serves as a go-to resource for hectic moments when your garage door refuses to cooperate. By understanding the steps to diagnose common issues, from recognizing error codes to addressing power discrepancies, you’re equipped to handle most situations with poise and competence.
Summarizing Troubleshooting Steps
Garage door mishaps are often solvable through a systematic process of elimination—checking power sources, realigning sensors, and recalibrating settings. Anomalies in performance frequently demand a closer look at the balance and alignment of your garage door setup. Remember, whether it’s a minor battery replacement or a more involved sensor realignment, clear and careful troubleshooting is your strongest ally in preserving your Chamberlain opener’s operational integrity.
Ensuring Long-Term Performance of Your Chamberlain Opener
Committing to regular maintenance is the bedrock of long-term garage door performance. With the right care, including routine checks and the occasional tune-up, your Chamberlain opener will continue to perform efficiently, adding convenience and security to your daily life. Keep the moving parts lubricated, ensure the door remains balanced, and stay vigilant for any signs of wear or electrical issues—this proactive approach will save you time and resources in the long run.
Additional Resources for Chamberlain Garage Door Owners
As a dedicated Chamberlain owner, you have a wealth of Chamberlain resources at your fingertips. Beyond this guide, Chamberlain’s customer support, comprehensive online documentation, and community forums are invaluable for tips, advice, and solutions for any peculiar garage door opener challenge you might face. These resources are crafted to ensure that you, the homeowner, are never left stranded without assistance when confronting garage door opener concerns.

