Genie garage door openers are known for their durability and user-friendly features. They are a popular choice for homeowners1. If you’ve recently bought a Genie opener or need to reprogram your current one, this guide will help you. We’ll cover garage door opener setup and DIY garage door programming.
It’s important to know your Genie opener model before you start programming1. This guide is for both new and older models. We’ll talk about remote controls, keypads, and wall consoles. This will give you a full understanding of how to program your Genie opener.
To start, find the programming buttons on your opener. They are usually on the motor unit or the wall control panel. Once you find them, press the remote button 3-4 times to start the programming1. When the motor unit lights up, it means your remote is now linked to the opener1.
Key Takeaways
- Genie openers are known for durability and user-friendly features
- Programming steps vary by model
- Remote programming typically requires pressing the button 3-4 times
- Success is indicated by a light on the motor unit
- This guide covers current and older models
- We’ll explore remote, keypad, and wall console programming
Understanding Genie Garage Door Opener Models
Genie offers a wide range of garage door opener types to suit various needs. From the IntelliG and TriloG series to SilentMax and PowerMax, each model has unique features and programming needs.
Current Models vs. Older Models
Modern Genie opener models come with advanced features like HomeLink and Car2U compatibility for in-car control2. Older models have different steps for programming. For example, newer Genie openers need a two-second button press for Car2U programming. Older versions require pressing the learn code button first2.
Identifying Your Genie Opener Type
To find out what kind of Genie opener you have, look for a large square programming button labeled PRGM/SET. This button is usually red, green, or purple and is found under the light cover or at the back of the unit3. Genie has used the 390 MHz frequency for its transmitters for over 15 years4.
Importance of Model-Specific Instructions
It’s important to follow the specific programming instructions for your Genie opener model. Different models like IntelliG and TriloG have their own steps for programming4. For example, programming Intellicode Remote Transmitters requires pressing the Learn Code Button once, then the transmitter button three times4.
| Genie Series | Models | Key Programming Feature |
|---|---|---|
| IntelliG, TriloG | 4024, 3024, 4042 | Specific button press sequence |
| SilentMax, PowerMax | Various | 390 MHz frequency |
| GPower, PowerLift | Various | Model-specific instructions |
You have about 30 seconds to finish each programming step after pressing the Learn button3. Always focus on safety during programming to avoid injuries and damage.
Preparing for Programming: Essential Steps
Before you start setting up your garage door opener, make sure you go through a pre-programming checklist. This helps make the setup process for your Genie opener smooth and increases your chances of success.
First, collect the tools you’ll need for your Genie opener setup. You’ll need a screwdriver, a ladder, and the garage door opener remote5. These tools will let you access the opener unit and do the programming steps easily.
Then, clear the area around the garage door of any obstacles. Take out vehicles, toys, or anything else that could get in the way. This is important for safety and makes sure the programming works right.
Familiarize Yourself with the Opener
Take a moment to find the Learn or Program button on your Genie garage door opener. It’s usually a brightly colored button, like red, yellow, or green, and is key for starting the programming mode6. Knowing what parts of the opener you have will make setting it up easier.
Review the Manual
Before you begin setting up your garage door opener, read your Genie opener’s manual carefully. Different models might need different steps or sequences for programming6. This makes sure you do it right for your specific opener.
| Pre-Programming Step | Purpose |
|---|---|
| Gather tools | Ensure all necessary equipment is on hand |
| Clear obstacles | Promote safety and accurate programming |
| Locate Learn button | Identify key component for programming |
| Review manual | Understand model-specific instructions |
By following this pre-programming checklist, you’ll be ready to set up your Genie garage door opener confidently. Remember, getting ready well is the key to a successful and easy programming experience.
Genie Garage Door Opener Programming: Step-by-Step Guide
Programming your Genie garage door opener is easy if you know the steps. This guide will help you with key parts of the process. You’ll learn how to find buttons, understand LED indicators, and manage time limits.
Locating the Programming Buttons
First, find the large square PRGM/SET button on your opener. It’s usually near the antenna wire on the motor head. Press and hold this button for about 2 seconds to start programming78.
Understanding LED Indicators
LED indicators are key in programming your Genie opener. You’ll see two types: a small round LED and a long LED. These lights show you how the programming is going. For example, certain LED patterns mean you’ve done something right or wrong.
| LED Type | Function | Indication |
|---|---|---|
| Small Round LED | Status Indicator | Blinks during programming |
| Long LED | Error Indicator | Flashes red for timeouts |
Time Constraints During Programming
Keep an eye on the time limits when setting up your Genie opener. You have 30 seconds for each step7. If the LED lights flash red, it means you timed out. You’ll need to try again. Make sure you’re at least five feet away from the opener to avoid timeouts7.
Remember, different Genie models might have their own way of programming. Always check your model’s user manual for the best instructions. By following these tips and watching the LED indicators and time limits, you can program your Genie garage door opener easily8.
Programming Genie Remote Controls
Setting up your Genie remote is key for garage door openers. It’s easy for both new and old models, with clear steps to follow. This ensures your remote works well right away.
Steps for Current Models
Modern Genie garage door openers make remote setup simple. Start by finding the PRGM/SET button on your opener. Hold this button for 2 seconds until the LED lights up7.
Then, stand back at least five feet from the opener and press the remote twice7. You have 30 seconds to finish each step7.
Instructions for Older Models
Older Genie models need a different method. For openers made before 2009, look for dip switches on the remote and opener. Remember, Genie uses 390 MHz transmitters since 20074.
Troubleshooting Remote Programming Issues
If you’re having trouble setting up your remote, here’s what to do:
- Change the batteries in your remote. Most Genie remotes use a 2032 lithium coin battery7.
- Look for any blockages or interference near the opener.
- Adjust the remote’s range if needed.
- Check your user manual or call Genie customer support for more help.
Genie remotes come with rolling code technology for better security. This creates a new code every time you use it, keeping your garage safe9. With the right setup and care, your Genie remote will give you easy and secure access to your garage for a long time974.
Keypad Programming for Genie Openers
Setting up a Genie keypad makes your garage door more secure. The Genie wireless keypad lets you set a Personal Identification Number (PIN) of 3 to 8 digits. This is key for garage door keypad programming, giving you control over who can enter.
To begin the wireless keypad installation, just follow these steps:
- Enter the sequence 3-5-7 on the keypad
- Press the up/down button
- Hold the PRGM/SET button until the LED flashes
- Set your chosen PIN (3-8 digits)
- Pair the keypad with the opener by entering your PIN and pressing the up/down button three times
The keypad LED will flash to show it’s working right, with different lights for errors10. This helps you know if you’re doing it correctly during the programming.
The Genie keypad is great for managing more than one garage door. It can work with up to three doors, making it versatile1011. Each door can have its own PIN, adding an extra layer of security and ease.
| Keypad Model | Compatibility | Frequency |
|---|---|---|
| GPWK-12, GWK | 9 or 12 switch remotes | 390 MHz |
| GWKIC, ACSDG | Intellicode 1 & 2 | 315/390 MHz |
| GK-BX | Multiple Genie series | 315/390 MHz |
Timing is key when setting up your Genie keypad. Make sure to finish programming within 30 seconds for it to work10. If you run into problems, resetting the keypad is easy, just press certain keys together10. This reset can fix many issues quickly.
The wireless keypad uses AAA batteries, which are easy to replace10. Checking the batteries regularly will keep your Genie garage door opener running well.
Wall Console Setup and Programming
Setting up your Genie wall console is key to a smooth garage door system. It makes sure your door works well and keeps your home safe.
Connecting the Wall Console
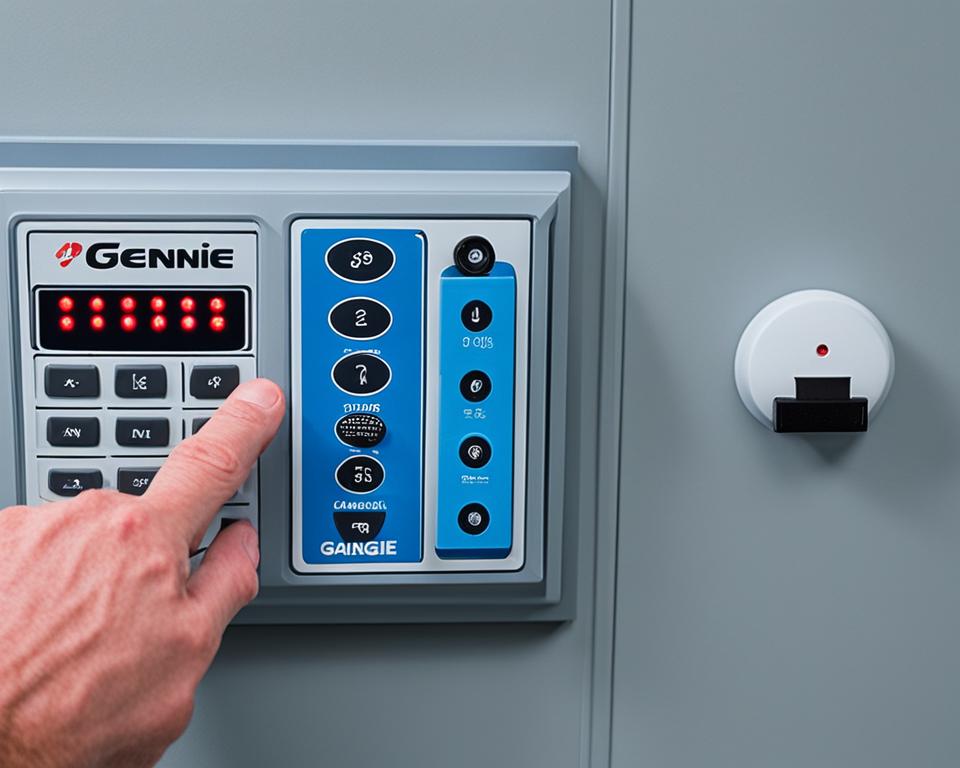
Start by placing the Genie wall console right. Make sure it’s at least 5 feet off the ground to stop kids from accidentally opening it. Use strong batteries with leak protection for the best performance12.
When installing, drill holes and secure the console with screws. Follow the maker’s instructions for a strong hold.
Programming Process for Wall Consoles
Programming your wall buttons depends on your Genie model. If your opener is from 2013 or later, the wireless wall console (model 39902R) will work12. Here’s how to program it:
- Press the PRGM/SET button on the opener until the LED blinks.
- Press the wall console button once every two seconds.
- Wait for the opener to activate, showing it’s programmed well.
The door will wait 10 seconds before moving, but you can set it up to 30 seconds with more button presses12. This gives you more time to leave the garage safely.
Testing Wall Console Functionality
Test your garage door wall control after programming. Watch for LED signals: a blue blink means everything’s fine, a red blink means the batteries are low12. Change the LED blink rate to save battery life. If problems happen, call The Genie Company at 1-800-354-3643 for help12.
Getting your wall console set up right is crucial for a safe and efficient garage door system. Always focus on safety when installing and using it.
Troubleshooting Common Programming Issues
Genie opener troubleshooting often involves addressing common programming issues. Let’s explore some frequent problems and their solutions. This will help you fix garage door remote issues and programming errors.
Battery-Related Problems
Dead batteries are a top reason for remote control problems, making up about 25% of issues13. If your remote isn’t working, check and replace the batteries first. For 3-button remotes, use a 2032 lithium coin battery.
Signal Interference Solutions
Signal interference can mess with your garage door opener. Here’s how to fix it:
- Look for nearby electronics causing trouble
- Make sure the antenna on the motor unit is down
- Get closer to the garage when using the remote
If problems keep happening, you might need to reprogram your remote. The Genie troubleshooting guide gives 5 easy steps for common issues. It stresses checking power supply and sensor alignment14.
Resetting and Reprogramming Tips
For ongoing programming errors:
- Clear the opener’s memory
- Reprogram all remotes and keypads
- Look at the LED lights on the powerhead for hints
A steady RED LED light means programming didn’t finish right. A blink followed by a pause means the transmitter wasn’t learned15. For doors that reverse too much (about 15% of cases), adjust the close force settings or check for blockages1315.
If you can’t fix the problem, look at your owner’s manual or call a pro for help.
Maintaining Your Genie Garage Door Opener
Keeping your Genie opener in good shape is crucial for smooth and safe operation. By following some easy tips, you can make your opener last longer and save money on repairs16.
First, check the moving parts of your garage door. Use lubricant on the chain, screws, or belt drive, based on your opener type. This helps your opener work better and reduces wear on parts16.
Don’t forget to change the batteries in remotes and keypads every 6-12 months. Doing this keeps your garage door working without surprises and makes sure you can always get in16.
- Clean tracks and rollers
- Tighten loose hardware
- Test safety sensors
- Inspect cables for fraying
For the best care, get a pro to check your opener every year. They can fix tricky problems and do full safety checks. This keeps your Genie opener running well1617.
| Maintenance Task | Frequency | Importance |
|---|---|---|
| Lubrication | Every 3 months | High |
| Battery replacement | Every 6-12 months | Medium |
| Safety sensor testing | Monthly | Critical |
| Professional inspection | Annually | High |
Remember, taking good care of your Genie opener keeps your family safe. By following these tips, your garage door will work well for a long time17.
Safety Considerations During Programming and Operation
Genie opener safety features are key for garage door safety. The Intellicode® Access Security System uses billions of code combinations for better security. The Safe-T-Beam® System stops and reverses the door if objects cross its infrared beam18. These features make sure you and your family stay safe and worry-free.
Clearing the Door’s Path
Always make sure the path to your Genie garage door is clear before using it. This step is crucial for avoiding accidents and keeping your garage door safe. Even with features like GenieSense™ Monitoring, keeping the area clear is a must18.
Testing Safety Features
Check your opener’s safety features often to make sure they work right. If your opener is older than 1993, it might not have the latest safety tech18. Think about getting a newer Genie opener with Intellicode technology for better security19.
Child Safety Measures
Keeping your garage door safe for kids is very important. Put the wall control high and out of reach to stop kids from getting it18. Keep remotes and keypads away from kids and teach everyone how to use the opener safely. By doing these things and keeping your Genie opener in good shape, you can make your garage a safe place for your family.
FAQ
What are the differences between current and older Genie garage door opener models?
What should I do before starting the programming process?
How do I program a Genie remote control for current and older models?
How do I program a Genie keypad for my garage door opener?
What are the steps to program a Genie wall console?
What are some common programming issues and their solutions?
How can I maintain my Genie garage door opener for optimal performance?
What safety considerations should I keep in mind during programming and operation?
Source Links
- https://heritagedoor.com/genie-opener-programming/ – How to Program Genie Garage Door Opener?
- https://store.geniecompany.com/blogs/genie-blog/how-to-program-your-genie-garage-door-opener-to-your-car-homelink-and-car2u – How to Program Your Genie Garage Door Opener to HomeLink®
- https://www.teamtaylordoors.com/program-genie-garage-door-opener/ – [FULL 2024 GUIDE] How to Program Genie Garage Door Opener
- https://www.geniedoor.com/support/programming-instructions/garage-door-opener-remote-programming/ – Garage Door Opener Remote Programming – GenieDoor.com
- https://elocksysgaragelock.com/program-garage-door-opener/ – How To Program Garage Door Opener: A Comprehensive Guide
- https://www.familyhandyman.com/article/how-to-program-garage-door-opener/ – How To Program a Garage Door Opener
- https://creativedoor.com/blog/how-to-program-your-genie-garage-door-opener – How to Program Your Genie Garage Door Opener
- https://medium.com/@seoexpert0/how-to-program-a-genie-garage-door-opener-a-step-by-step-guide-7aa5331cfb07 – How to Program a Genie Garage Door Opener: A Step-by-Step Guide
- https://www.teamtaylordoors.com/how-to-program-genie-remote-for-garage-door/ – How to Program Genie Remote for Garage Door: 2024 Guide
- https://store.geniecompany.com/pages/genie-wireless-keypad-programming-instructions – Genie Garage Door Opener Wireless Keypad Programming Instructions
- https://www.genieoffairview.com/programming-instructions/genie-garage-outside-keypad-programming-instructions/ – Genie Garage Outside Keypad Programming Instructions | Genie of Fairview
- https://store.geniecompany.com/pages/39902r-wireless-wall-console-installation-instructions – Genie Wireless Wall Console Installation Instructions | 39902R
- https://store.geniecompany.com/pages/genie-garage-door-opener-troubleshooting – Genie Garage Door Opener Troubleshooting
- https://www.precisiondoormichiana.com/5-simple-steps-to-troubleshooting-your-genie-garage-door-opener/ – 5 Simple Steps to Troubleshooting your Genie Garage Door Opener – Precision Door Michiana
- https://store.geniecompany.com/pages/genie-garage-door-opener-troubleshooting-guide-for-models-1022-1024-1042-2022-2024-2042-2027 – Genie Garage Door Opener Troubleshooting Guide- for models 1022, 1024,
- https://www.paratecdoor.com/blog/how-to-program-a-genie-garage-door-opener – Paratec Door Solutions
- https://www.superiordooromaha.com/2024/06/17/how-to-reprogram-genie-garage-door-opener-update-guide-2024/ – How to Reprogram a Genie Garage Door Opener
- https://www.geniecompany.com/garage-door-opener-safety – Garage Door Opener Safety | The Genie Company
- https://www.safetygaragedoor.com/blog/how-to-program-garage-door-opener – Easy Garage Door Opener Programming Guide

